


This Skull Light-Up Mirror has to be one of THE coolest DIYs I’ve ever done! Easy, cheap, and MAJOR impact!
I saw this Grandin Road mirror and instantly LOVED it, but I definitely did not love the price. I’m all for buying quality decor pieces, which sometimes come with a larger price tag, but not when I’m only going to use them for a few weeks out of the year! Who’s with me?

My first stop was Goodwill to try to find a mirror or frame with glass I could use to replicate this Grandin Road mirror shape. And BOY did I snag something good! I found a medium-sized oval frame with CONVEX GLASS! Convex glass is really not something you see much anymore, and for less than $8, I scooped that baby up!
But not to worry, if you can’t find convex glass, this project will still work beautifully! So let’s get started!
*This post contains affiliate links, which give me a small commission on items purchased through my links, at no additional cost to you. I appreciate you shopping through my links more than you know, and it truly helps me continue making great content for you to enjoy! For more information, see my Privacy & Disclosure Policy!**
SHOP THIS POST

Skull Light-Up Mirror – What You’ll Need:
- medium-sized frame with glass (I prefer glass over a mirror to start because you can make it look even more spooky!)
- Bonus points for convex glass!
- Cinch (my fave glass cleaner!) or Windex
- black spray paint
- looking glass spray paint
- white vinegar
- spray bottle
- medium & small skull heads
- Loctite spray foam
- rub n buff (antique gold)
- acrylic paint
- paper towels
- hot glue/glue gun
- jewels or pearls (optional) – I grabbed mine for $1 at Dollar Tree!
- mini battery-powered fairy lights (optional but highly encouraged!)
Skull Light-Up Mirror – How To:
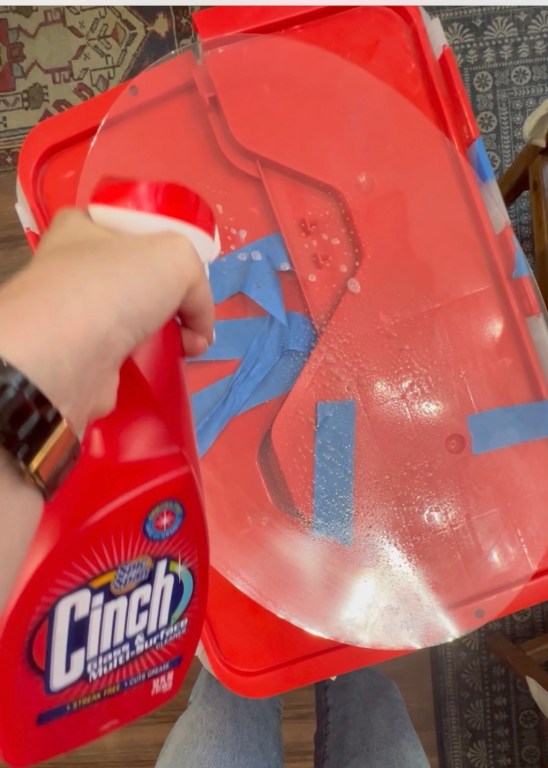
Step 1: Take apart your frame and remove the backing and glass. Clean the glass WELL with Cinch or Windex.
Step 2: Spray the frame black with black spray paint and allow to dry.

Step 3: While your frame is drying, add some white vinegar to a spray bottle. Spray vinegar gently around the edges of the glass (be sure you are spraying the back of the glass – the part that will face IN when you reassemble it). You’re trying to create a natural-looking antique effect here (the vinegar will prevent your looking glass spray paint from sticking), so don’t go overboard. Little droplets here and there are perfect!

Step 4: Now immediately spray your looking glass spray paint on top of your vinegar (on the back of the glass). If you’re using the Krylon looking glass spray paint as I did, you’ll need to do 5 thin coats, waiting just one minute between coats.


Step 5: Once you’ve finished applying the looking glass spray paint, take a paper towel and gently dab away the vinegar spots. This should leave you with a nice antique-looking mirror. Allow to dry.

Step 6: While you’re glass is drying, happy Loctite spray foam all around the frame of your piece. While the foam is still wet, place your skull heads into the foam however you like. I used one larger skull at the top and then 3 mini skulls at 3, 6 and 9 o’clock. Allow to dry for about an hour (the foam shouldn’t need to long to harden up).


Step 7: Once the foam is dry, flip it over and check the back – some foam may have dried in a way that might block you from assembling the frame correctly. Just use a utility knife to cut off those pieces if you have them – don’t worry, you won’t see them once everything is painted and assembled.
Step 7.5: spray the entire frame again with black spray paint. I wanted mine to be really saturated, so I gave it several coats until I couldn’t see any more white showing through. If you want a more grey effect, spay less spray paint until you achieve the look you like!

Step 8: Also spray paint the face of whatever is going INSIDE your frame. My frame had artwork in it, so I just flipped that over and spraypainted it black. The black backing is going to make your glass/mirror just a bit more spooky!

Step 9: Once your spray paint is dry, bring everything inside to a soft surface so you can finally assemble your Skull Light-Up Mirror! Place your glass inside your frame with the non-spray painted side going OUT.

Before putting your black “artwork” and final backing on, add in some battery powered fairy lights on top of the glass. Be sure the control is accessible at the top of your frame. (Here’s where the convex glass made things so easy for me, but you can totally still achieve this with tiny mini fairy lights and regular glass as well!)
Finally, place your black “artwork” on top of the lights, add the final backing, & secure.
Test that your lights work and are placed how you like them!


PRO TIP: If you want your mirror to look even more like the Grandin Road version, grab some BLUE lights instead of white!
Step 10: You can leave your frame as is, or you can embellish it a bit more as I did. I took some antique gold rub n buff and applied it to my skull heads. I used my finger to apply it so it wouldn’t be a completely saturated look, but more haphazard and vintage.
Next, I mixed some rub n buff with brown and black acrylic paint. I applied it all over my foam with a paper towel, making sure to dab off any excess paint on a paper plate before applying. This gave the whole piece a lot more dimension (so it wasn’t just solid black).


Finally, I hot glued two pearls in the large skeleton’s eyes for a final touch!
SHOP THIS POST
Step 11: Hang wherever you like and turn on!


So much spook for so little money!
And now, because I have to ask… “Mirror mirror on the wall, who’s the fairest of them all?” 👻☠️
Until next time… happy crafting!


Leave a Comment